


- Web templates
- E-commerce Templates
- CMS & Blog Templates
- Facebook Templates
- Website Builders
FAQs
General Tutorials
Featured templates
og体育首页ONE Subscrioption


This tutorial is going to show you how to manage Contact form plugin in WordPress blogging themes.
.jpg)
To manage contact form, please, follow the steps, indicated below:
Log into your WordPress admin panel.
Open a page with your contact form under the Pages tab.
Locate Contact Form module and click on a Module Settings tab to open Contact form module settings.

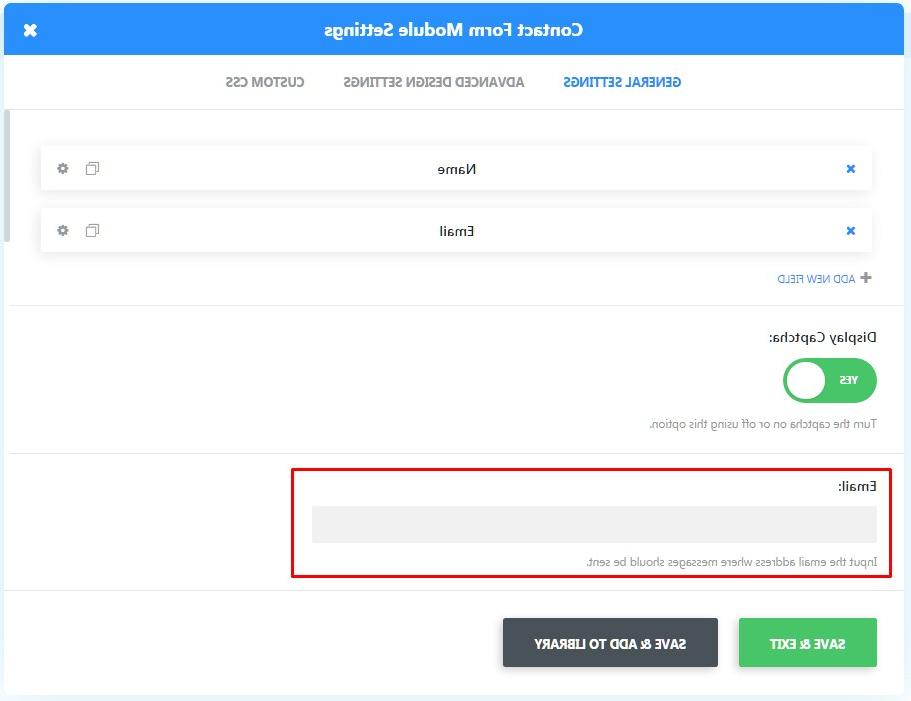
After clicking the Module Settings button you will see a popup window with all the module settings listed in. To activate your contact form, please, do the steps, described below:
Click on the General Settings tab in Contact form module popup window.
Locate an Email field.
Input the contact form recipient’s email address.
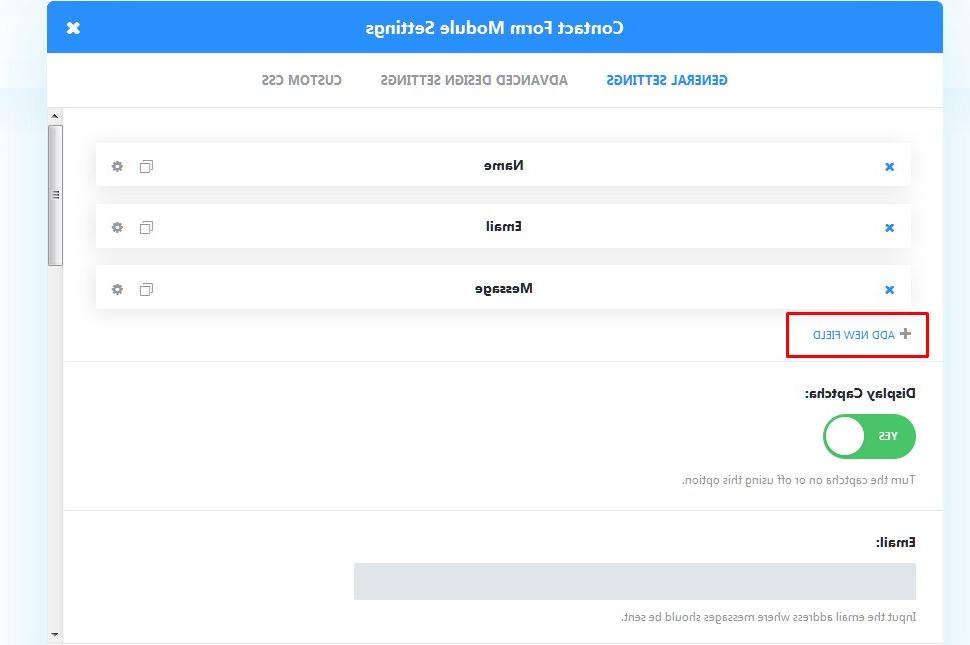
The common feature for each contact form is adding fields to this form. To add more fields to your contact form:
Click on Add New Field under the field available.
Then you will see a screen with the settings’ fields. First of all you need to specify the following settings:
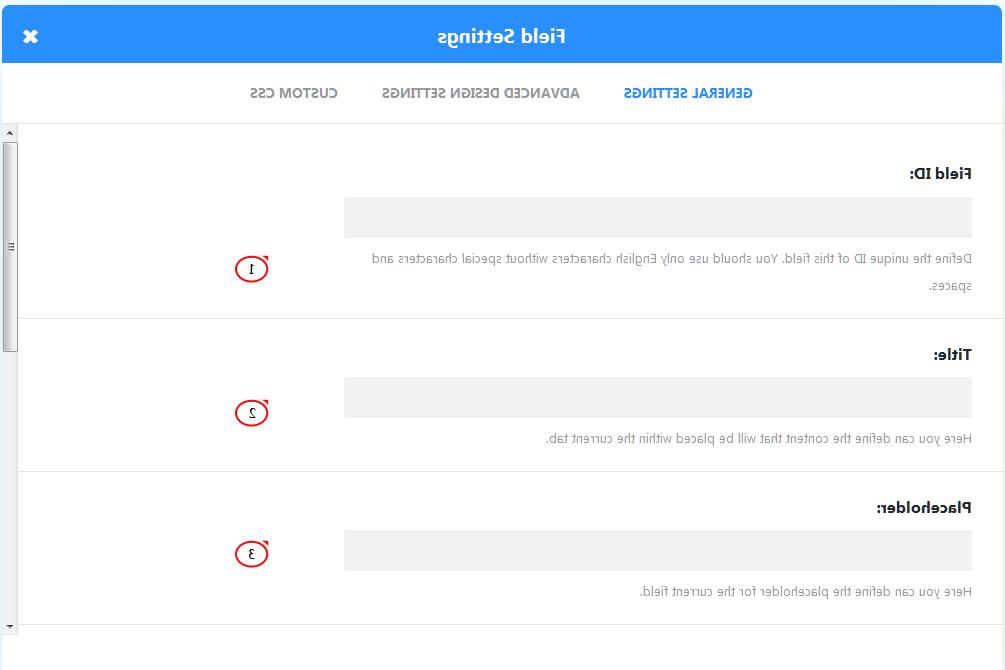
Field ID. Define the unique ID for this field.
Note! You should use English characters only, without any special characters and spaces.
Title. Here you can define the content that will be placed within the current tab.
Placeholder. Here you can define the placeholder for the current field.
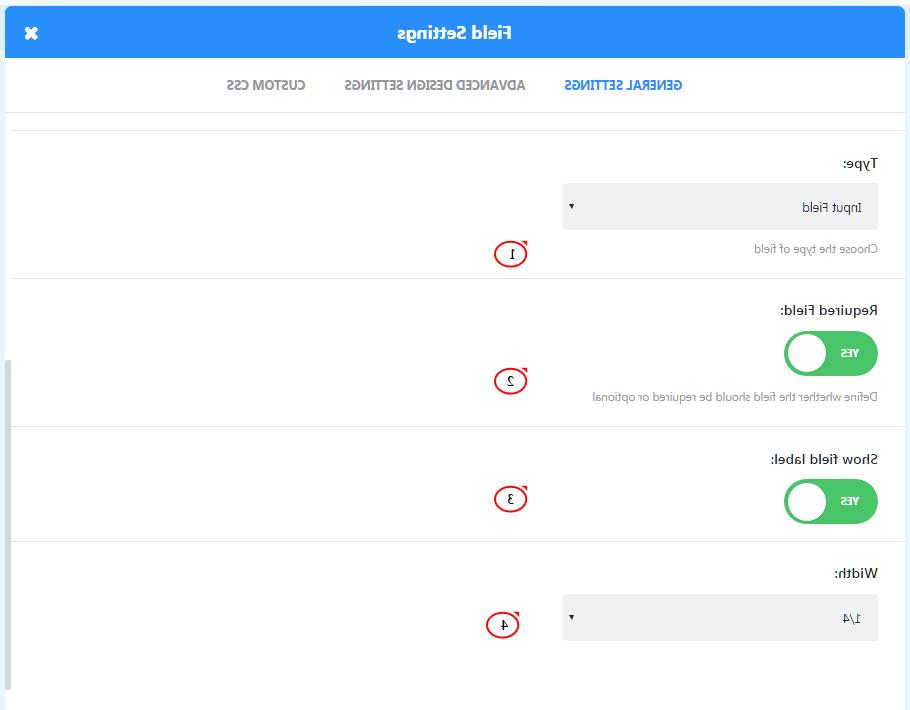
You can also change the following settings for your new field:
The next step is field type selection. Contact form module has several field types:
Input field
Select field has several additional options:
Type. Define select options. Separate options with ";". Separate option value from option label with "=="
Allow multiple selections
Insert a placeholder as the first empty option:
Email field allows you to add email field to your contact form.
Note! This field is essential. It has to be added to your contact form to make it work properly.
Textarea
Define whether the field is required for optional.
Enable/disable field label.
Define the field’s width.
Contact form has several additional settings under the General Settings tab in Contact form module:
For example, you may define a title for your contact form in the Title field.
Message Pattern section. Here you can define the custom pattern for the email Message. Fields should be included in following format – %%field_id%%. For example, if you want to include the field with id = phone and a field with id = message, than you should use the following pattern: My message is %%message%% and phone number is %%phone%%. Leave blank for default.
Enable Redirect URL redirect users after the successful form submission.
Success Message. Type the message you want to display after the successful form submission. Leave blank for default.
Input the label for submit button to the Submit button text field.
Disable on section. This will disable the module on selected devices.
Admin Label. This will change the label of the module in the builder for easy identification.
Feel free to check our video tutorial below:
WordPress Blogging themes. How to manage Power Builder’s Contact Form moduleAlso, take a look at the collection of other premium WordPress themes!
