


- Web templates
- E-commerce Templates
- CMS & Blog Templates
- Facebook Templates
- Website Builders
FAQs
General Tutorials
Featured templates
og体育首页ONE Subscrioption


We are glad to present you a new guidance on how to work with ‘The Events Calendar’ WordPress plugin. It is a carefully crafted, extensible plugin that lets you easily share your events.
Certain templates have the plugin included by default. In case you have it already installed, feel free to skip this section.
There are a few ways to install the plugin. You may find the most common ones listed below:
The easiest way is to visit the Plugins-> Add New section at your site admin panel and use the Search field at top right to look up the ‘The Events Calendar’ plugin. Once it’s filtered, press the Install button and don’t forget to Activate it after the installation is completed.
The alternative way to install it is to visit the official plugin page and click ‘Download’ button to save the plugin zip archive to your local computer. Then this package to your site at the Plugins -> Add New section using the ‘Upload plugin’ button at top.
You can also upload the content of the plugin’s zip file to the /wp-content/plugins/ directory on your FTP and activate it at the Plugins -> Installed Plugins section at your site.
You’ll see the Events label in your left-side dashboard menu after the successful plugin’s installing and activation. Let’s learn how to manage it.
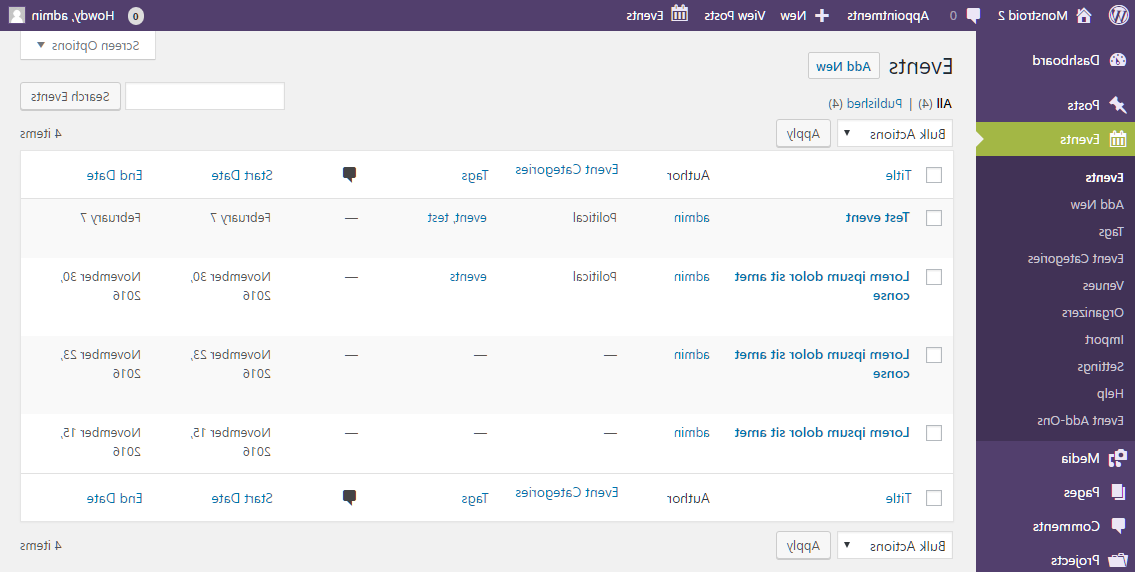
Click on the Events -> Events label to manage an existing event or create a new one. As to creating a new event, it can be done easily at the Events -> Add New section. Each event might be configured up to your needs. Let’s check the settings available:
Event Title – you can define the title of your event here.
Body – main events description goes here. You may use plain text, HTML content, shortcodes, etc.
The Events Calendar– you can define event specifics here.
Time & Date section allows you to set Start/End time and date or set the All Day Event for the needed date.
Location section allows you to set the location of your event and Show Google Map if needed.
Organizers section allows you to define event organizers, selecting them among the list of previously saved ones, or creating a new one.

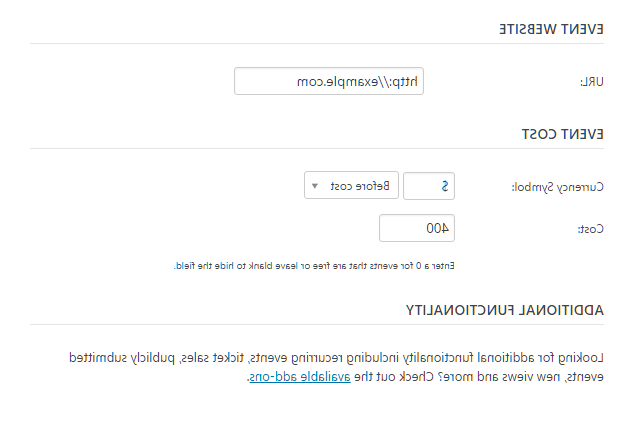
Event Website section allows you to specify the link to the event’s website to let your site visitors learn more about the event.
Event Cost section is used if you need to set some price for the participation in this event – you may select the Currency Symbol and enter the cost here.
Finally, the Additional Functionality section allows you to check out the available add-ons in case you’re looking for recurring events, ticket sales, publicly submitted events, new views and more.
Excerpt lets you to set the short description for your event. You may use plain text or HTML content here.
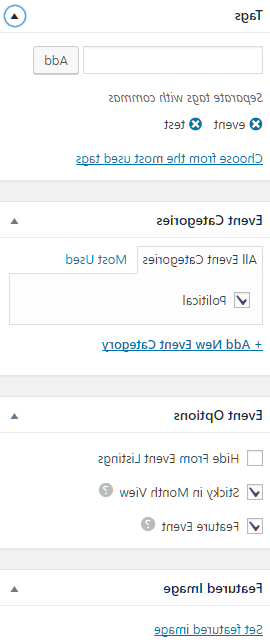
Each event can also have certain Tags, you may add it to some Event Category and upload the Featured image at the right side. You may also define the Event Options, such as Hide From Event Listings, mark it as Sticky in Month View(when events are sticky in month view, they’ll display first in the list of events shown within a given day block) or Feature Event (featured events are highlighted on the frontend in views, archives, and widgets).
Feel free to check your event on a frontend when you’re done with its editing. As you can see, there’s a plenty of options available to let you configure each event precisely.


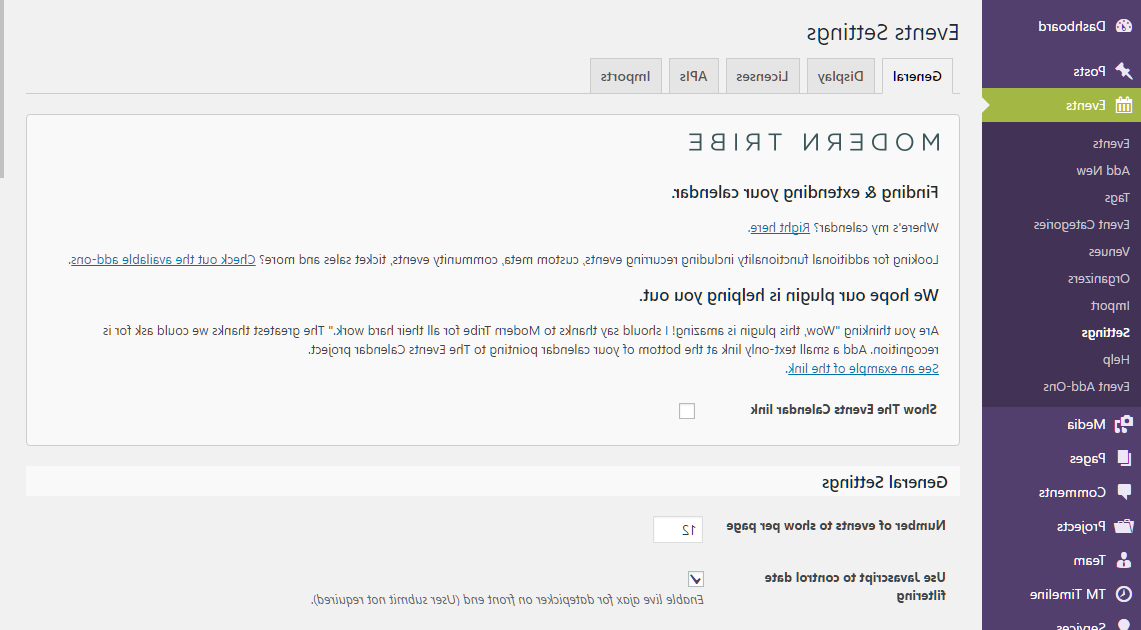
Please, navigate to the ‘Events’ -> Settings tab to define the general events calendar plugin’s settings.
General settings tab allows you to set the number of events to show up on a single page, determine the event’s slug, show comments, include/exclude events from blog, select the default currency symbol, etc. You can also choose the desired Map Settings here (i.e., enable Google Maps, set the default map zoom level), Miscellaneous Settings and Timezone Settings for your events.
Display tab allows to select Basic Template Settings (event layout and styling options), choose Date Format Settings and add the Advanced Template Settings (include some HTML before/after the event content).
Licenses tab serves for entering the License Key, required for plugin’s support and updates.
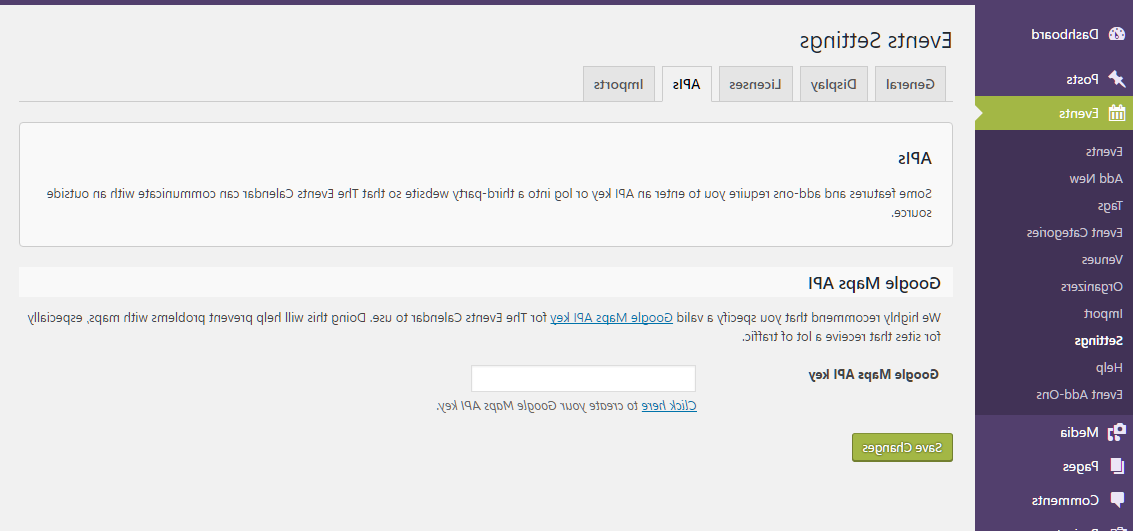
APIs tab is used for entering the Google Maps API key, required for Google Maps display. If you’re going to display your events on maps, be sure to create your unique Google Maps API key and paste it to the input field here, especially if your site receives a lot of traffic.
Imports tab is used to configure your events imports from other websites.
That’s all, thank you for attention. Manage your events easily, and in case any questions remain, do not hesitate to contact us anytime!
Feel free to check the detailed video tutorial below:
Monstroid 2. How to manage events with the help of ‘The Events Calendar’ pluginIf you’re in need of premium themes to put up a site, review event planner wordpress solutions.
